Raspberry PI firmware update
Raspberry Pi Firmware update procedure and preparing Raspberry Pis for booting from USB
About USB Booting support (Raspberry Pi 4 and Ubuntu)
Raspberry Pi’s bootloader has a 2020/09/03 version that just started supporting booting from USB. First step is to prepare Raspberry Pis to update its Firmware and enable boot from USB stick. Firmware update and bootloader configuration is fully supported only using Raspberry Pi OS.
Ubuntu 24.04 LTS for RaspberryPi also supports “out-of-the-box” booting from USB. This version is will be used within the cluster.
Note:
Ubuntu 20.04.02 was used in previous releases of Pi-cluster. Ubuntu 20.04.02 LTS (Long Time Support) does not support “out-of-the-box” booting from USB and it is needed to make changes into boot folder kernel files. It can be done following this guide.
Configure headless Raspberry OS
Prepare Raspberry PI OS for a headless start-up (without keyboard and monitor) enabling remote ssh connection and wifi access to home network.
Raspberry PI Imager will be used to burn Raspberry PI OS into a SD Card and configure it in headless mode.
-
Step 1. Download Raspberry Pi Imager and install it
Installer can be downloaded from URL: https://www.raspberrypi.com/software/
In Ubuntu it can be installed using snap package manager:
snap install rpi-imager -
Step 2: Put a blank mini SD card and adapter. No need to format it. You can use a new SD card right out of the package.
-
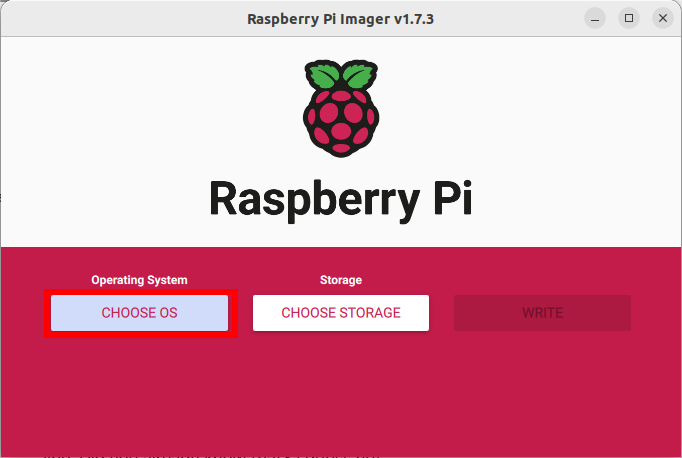
Step 3. Start rpi-imager
In Ubuntu execute command:
rpi-imager -
Step 4. Choose OS image to burn.
Click on “Choose OS”
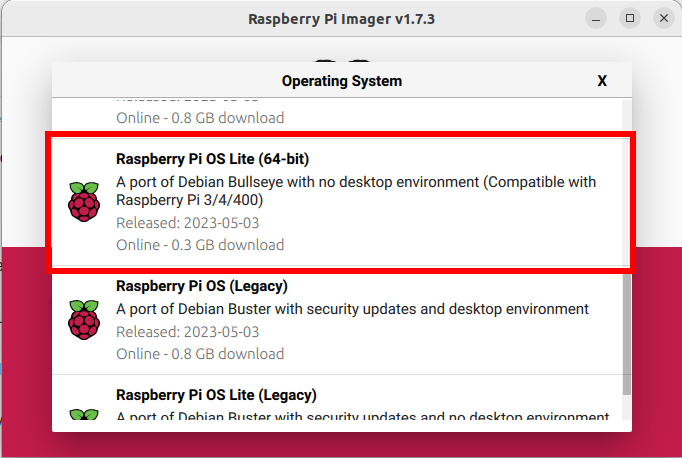
Select “Raspberry PI OS Other”

Select “Raspberry PI OS Lite (64 bits)”
-
Step 5. Choose Storage output
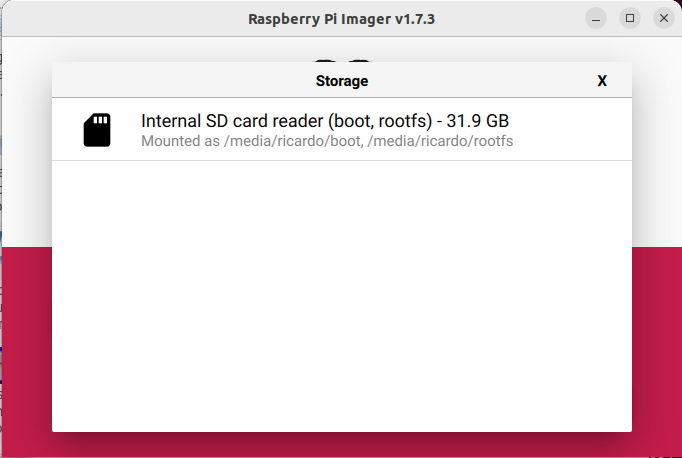
Click on “Choose Storage”
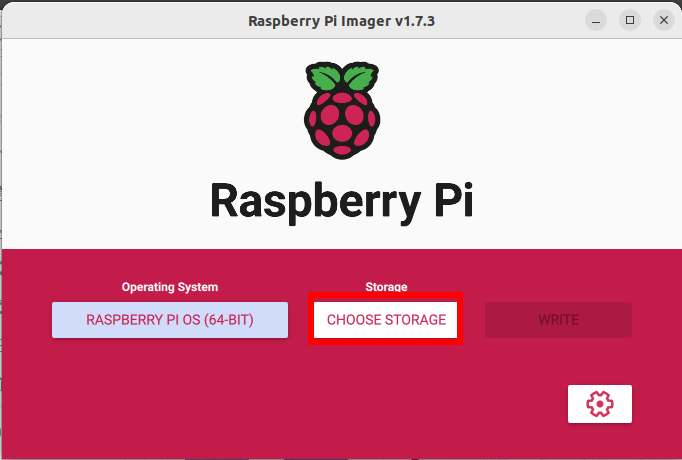
Select the SD card storage
-
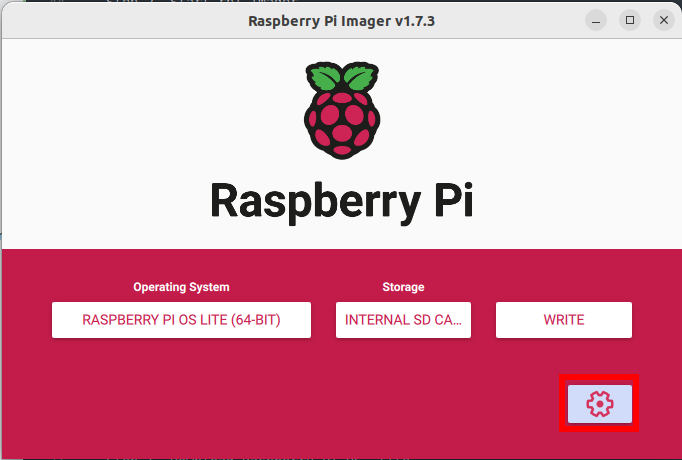
Step 6. Select Advanced Options
-
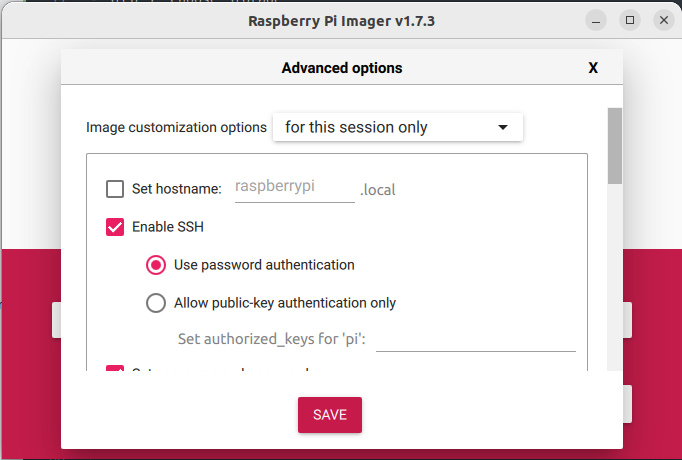
Step 8: Enable SSH and configure pi user and password
-
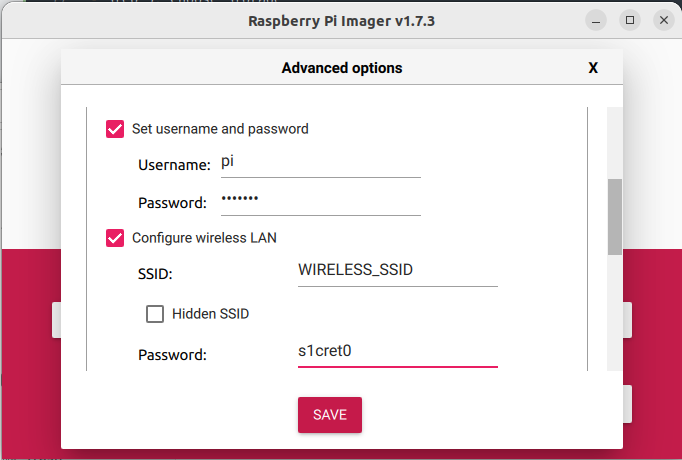
Step 9: Configure pi user and passwork and Wireless LAN network
-
Step 10: Click on Write

-
Step 11. Eject the micro SD card
Right-click on boot (on your desktop or File Explorer) and select the Eject option
-
Step 12. Boot the Raspberry Pi from the micro SD card
Remove the mini-SD card from the adapter and plug it into the Raspberry Pi. Plug a USB-C power supply cable into the power port
-
Step 13. Connect through SSH to the Raspberry Pi
Connect through SSH to the Raspberry PI using default user and password (pi/raspberry) or the one specified in Advance settings
Get latest updates of the OS and the firmware
First make sure that you have the absolute latest updates and firmware for the Pi. To upgrade all your packages and firmware to the latest version use the following command:
sudo apt update && sudo apt full-upgrade -y
Once the update has completed restart your Pi with a sudo reboot command to apply the latest firmware / kernel updates.
Verify EEPROM Bootloader is up to date
We can check if your Pi’s bootloader firmware is up to date with the following command:
sudo rpi-eeprom-update
If your Raspbian is very out of date you may not have this utility and can install it using:
sudo apt install rpi-eeprom
The output from rpi-eeprom-update will look like this if you are not up to date:
*** UPDATE AVAILABLE ***
BOOTLOADER: update available
   CURRENT: Tue 16 Feb 13:23:36 UTC 2021 (1613481816)
    LATEST: Thu 29 Apr 16:11:25 UTC 2021 (1619712685)
   RELEASE: default (/lib/firmware/raspberrypi/bootloader/default)
            Use raspi-config to change the release.

  VL805_FW: Using bootloader EEPROM
     VL805: up to date
   CURRENT: 000138a1
    LATEST: 000138a1
The ouput from rpi-eeprom-update will look like this if the firmware is up to date:
BOOTLOADER: up to date
   CURRENT: Thu 29 Apr 16:11:25 UTC 2021 (1619712685)
    LATEST: Thu 29 Apr 16:11:25 UTC 2021 (1619712685)
   RELEASE: default (/lib/firmware/raspberrypi/bootloader/default)
            Use raspi-config to change the release.

  VL805_FW: Dedicated VL805 EEPROM
     VL805: up to date
   CURRENT: 000138a1
    LATEST: 000138a1
If it says any updates are available they be installed manually by adding ‘-a’ to the end of our previous command like this:
sudo rpi-eeprom-update -a
A reboot is required to apply the changes
Modify Boot Order if needed
Check current boot order configuration with command
rpi-eeprom-config
The ouput should show as part of the configuration
BOOT_ORDER=0xf14
Which means “Try USB first, followed by SD then repeat”.
Note: If not specified in the eeprom config, default value is BOOT_ORDER=0xf41 (Try SD first, and then USB. Then repeat)
Check documentation for details about bootloader configuration.
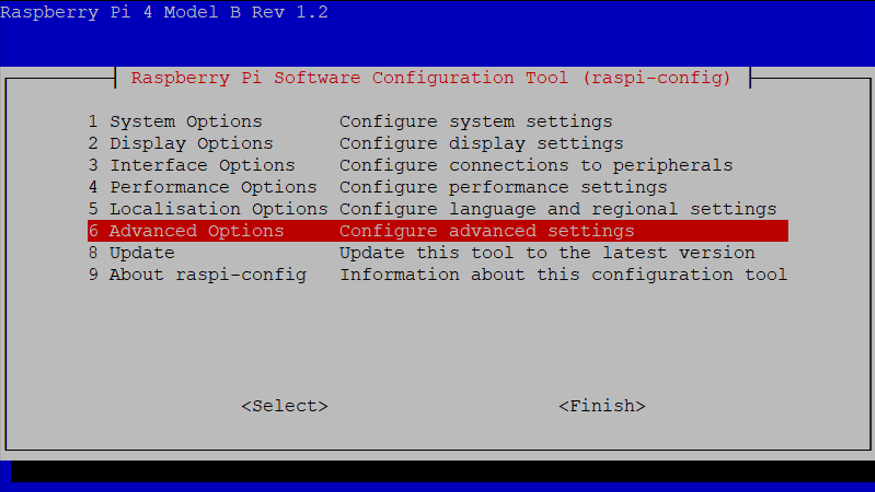
If the BOOT_ORDER is not set, change it using raspi-config tool executing:
sudo raspi-config
-
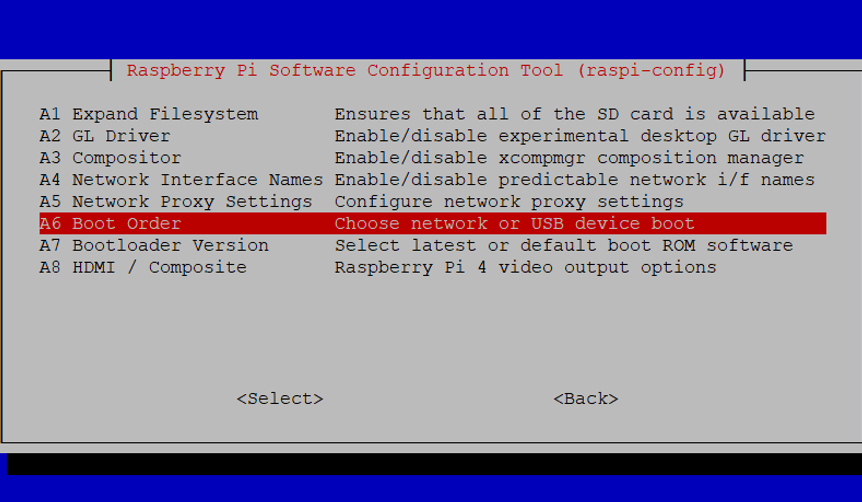
Step 1 Select 6. Advanced Options
-
Step 2. Select A6. Boot Order
-
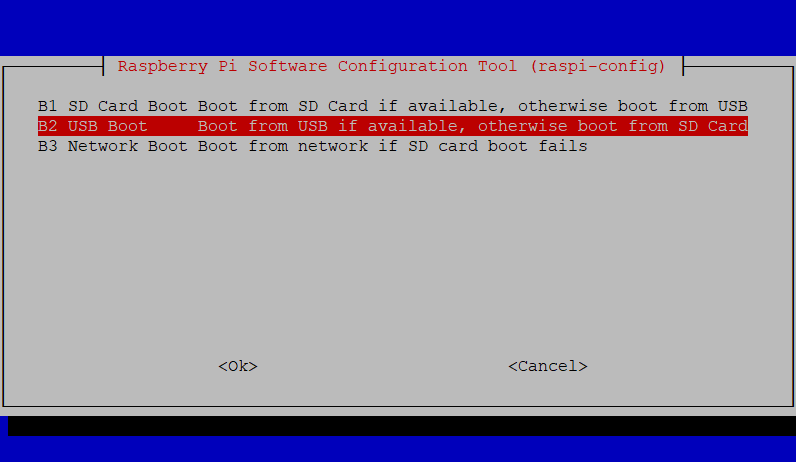
Step 3. Select B2 USB Boot
-
Step 4. Select OK and Finish
-
Step 5. Reboot Raspberry Pi
Headless configuration for Desktop Version: Enable VNC Remote Connect
In case Raspberry PI desktop version is used (i.e. gparted application configuration), VNC remote connection can be enabled.
Using raspi-config tool.
sudo raspi-config
-
Step 1. Enable VNC
Select Interfacing Options Select VNC For the prompt to enable VNC, select Yes (Y) For the confirmation, select Ok
-
Step 2. Change Change the default screen resolution
There is a weird quirk where you must change the screen resolution or VNC will report “Cannot currently show the desktop.”
Still from within raspi-config:
Select Display on older versions this was under Advanced Options Select Resolution Select anything but the default (example: 1024x768) Select Ok Once you’ve established that it works, you can go back and try other screen resolutions.
-
Step 3. Save raspi-config changes and reboot
Select Finish For the reboot prompt, select Yes
-
Step 4. Install the RealVNC viewer on your computer, smartphone or tablet Download the RealVNC viewer for your operating system.
Browse to:
https://www.realvnc.com/en/connect/download/viewer/ For some operating systems the downloaded file may be an installer that needs to run. If that’s the case, run the installer.
-
Step 5. Connect over VNC Launch the VNC viewer on your computer and type the IP of the Raspberry Pi server into the Connect address bar.